Upload Photos and Files
This step assumes you have performed the work, taken before and after photos, and uploaded photos and supporting files from your mobile device to your desktop.
Upload Photos
- Use Search or the Filter Menu to locate your work order.
- Click the Actions menu and choose Start Job.
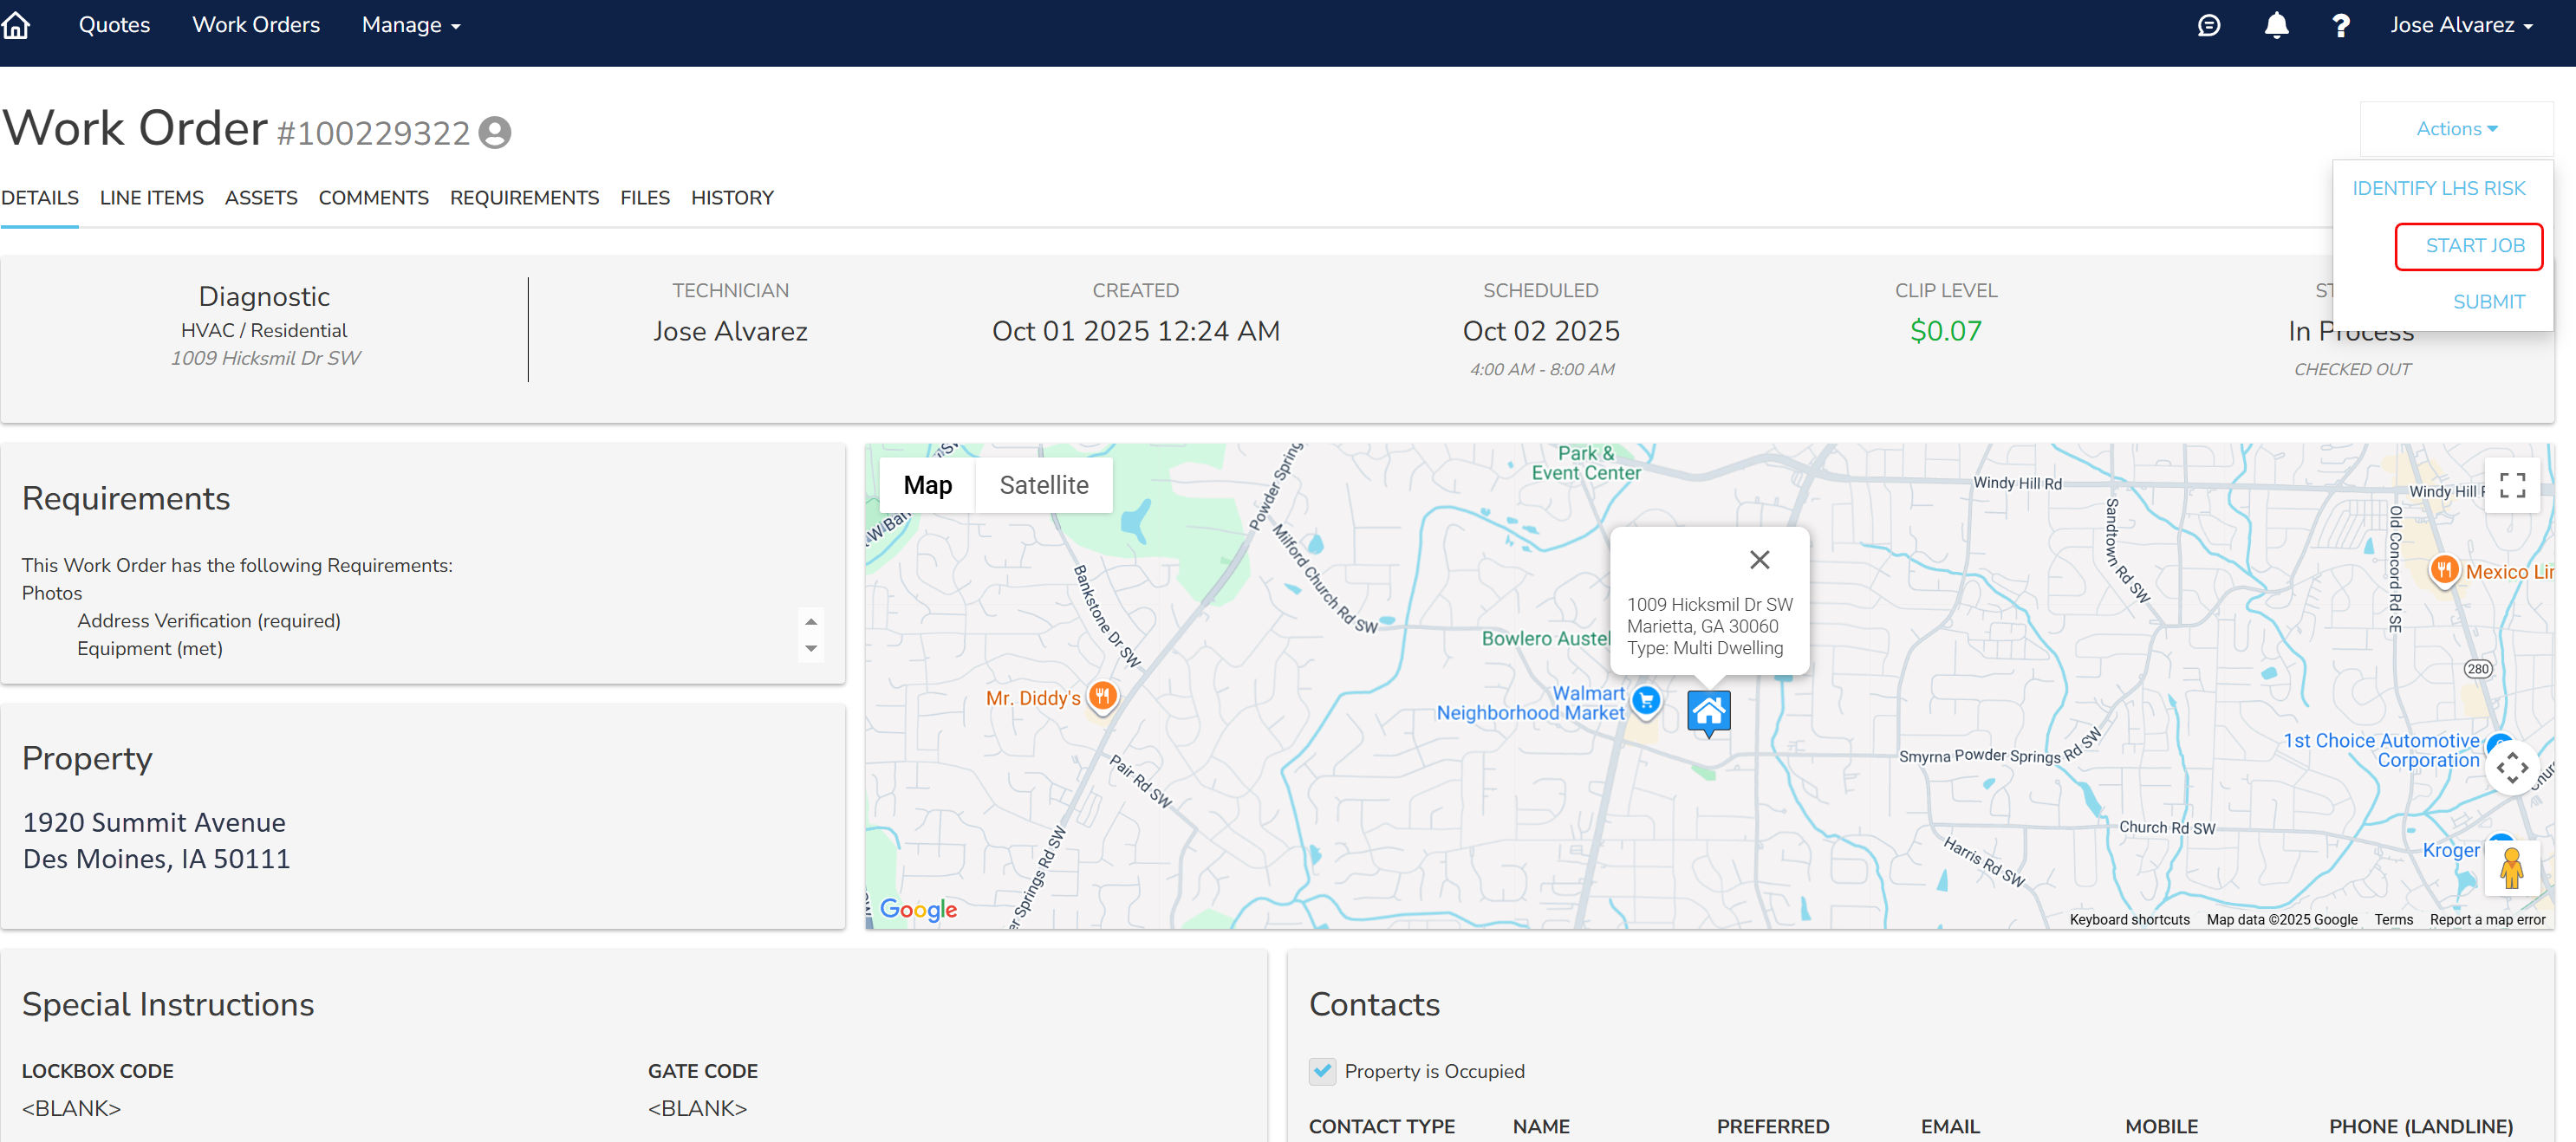
 Tip: You can also use the Mobile App to check in and upload photos.
 - Select the Line Items tab and review the job.
- Select the Requirements tab and go to the Photos section.
- Drag the photo to the Photos section or click the link to locate a file to upload. If specific types of photos are required, they are listed in the Requirements section.
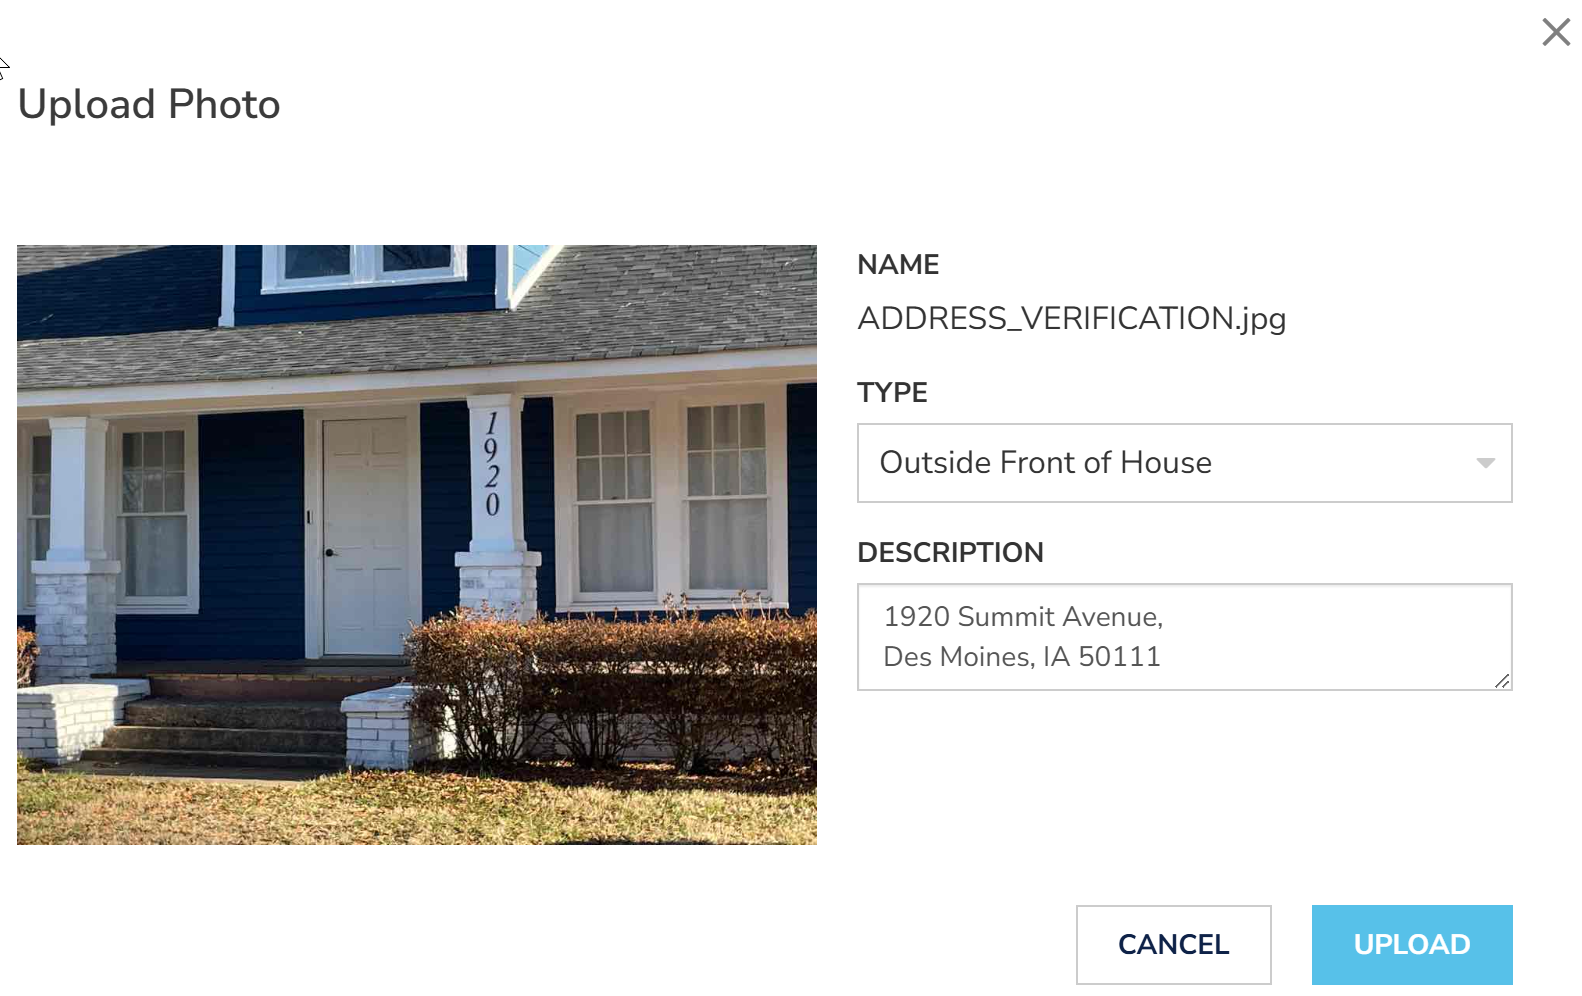
- Select the photo and click Open.
- Click Type and choose the type of photo. For example, Address Verification.
- Type an optional description and click Upload. For example, for Address Verification, you can choose Outside Front of House.
 Tip: When a photo requirement is requested but is not needed for the job, go to Click Here if Photo Requirement is Not Applicable, select the photo type, and click Upload.
 - Repeat this step for all photos.
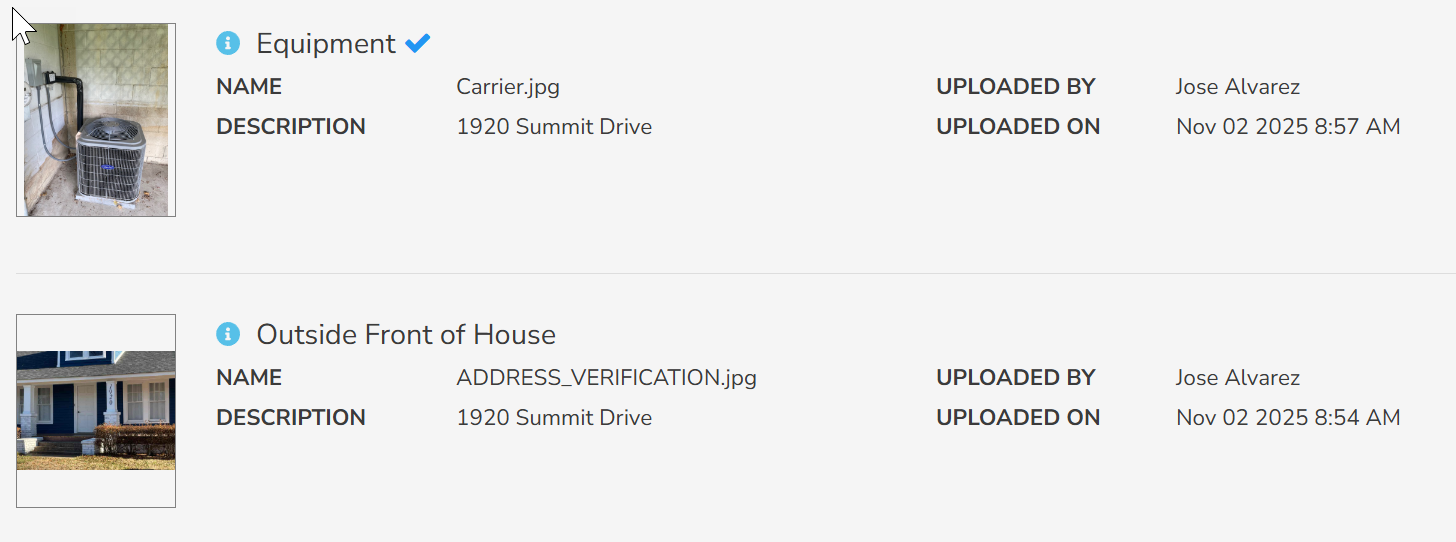
Each photo you add to a work order must be unique. Depending on client restrictions, if you reuse a photo from another work order, the photo can be rejected. You should remove duplicate photos from the work order.
Add Files
You can attach supporting documentation, such as work permits, warranty information, receipts, and owner's manuals to the work order.
- In the work order, select the Files tab.
- Drag and drop a file to this area or click the link to select a file.Tip: You can rename the file if needed.
- In the Upload File dialog, click Type and choose a file type, and click Upload.
